Bought a couple of cans of plastidip and decided to try it out on my spare rim.
FYI, this was a spare rim that's just sitting around in the house. Pretty scuffed up and generally in an ugly state, so the perfect piece for a test.
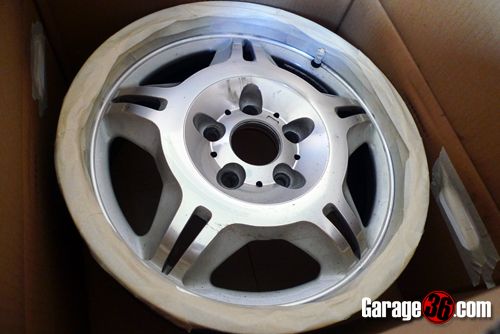
The wheel
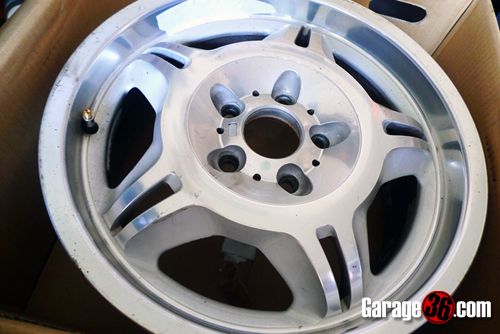
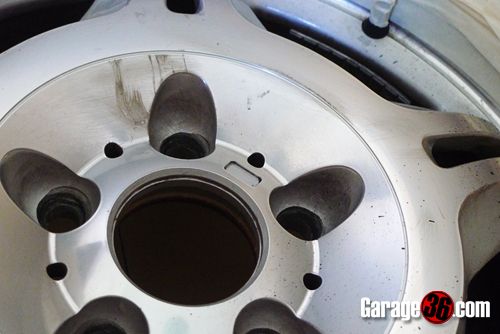
Some of the scuff marks. Couldn't be removed with normal cleaning or polishing. A lot of scratches too.
Most of the time was spent taping up the parts i didn't want dipped. Better to spend more time here getting the masking right than having to redo the entire process later if the results turn out less than ideal.
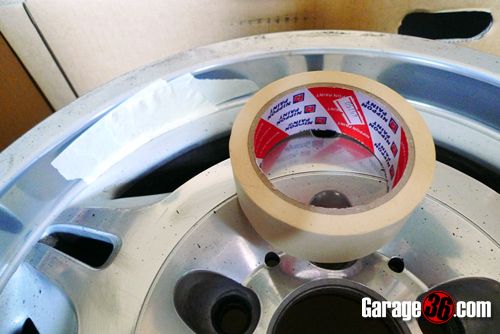
All taped up.
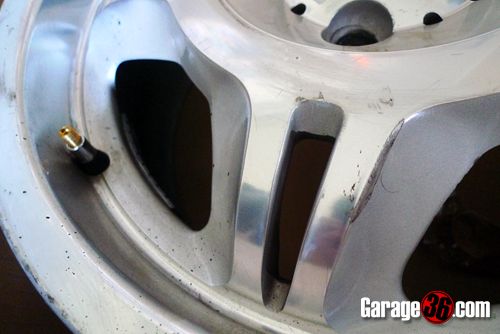
A final look at the scuff marks prior to dipping
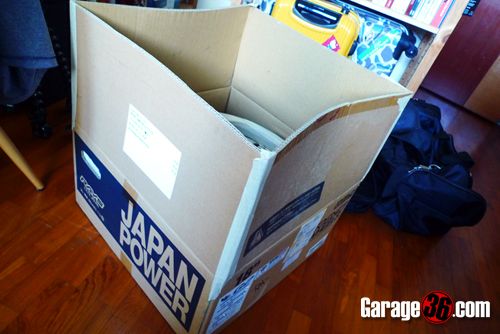
Made a painting enclosure out of a wheel box
Plasti-Dip time!
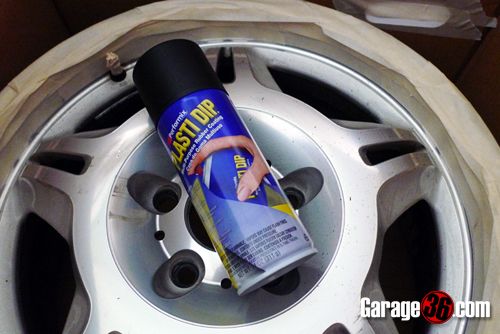
I think in general, you should prep the surface you want to dip and clean it up really well, i didn't bother cos i was lazy and just used a kitchen rag to wipe it.
Here's how it looked after the first coat.
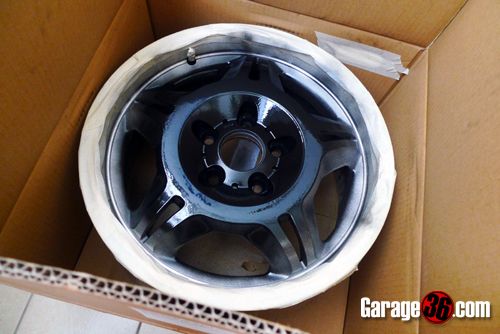
2nd Coat. You'd notice i'm only painting the inner rim first. It goes on wet and shiny but dries to a matt finish.
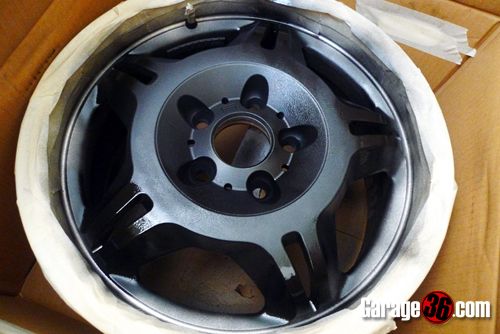
And... the 3rd coat, this was why i painted the inner part of the rim first, so that upon application of the 3rd coat and finishng up the outer edges, i can easily peel off the masking without the plasti-dip drying up and getting pull off too.
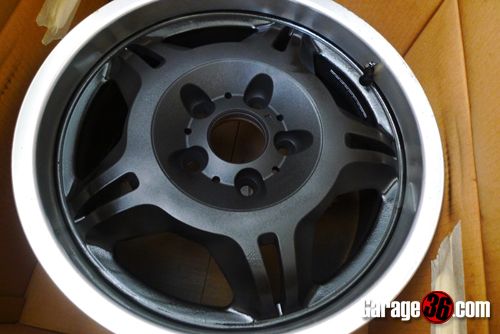
This is how it looked after the 3rd coat dried up. I think i used too much dip on the insides as the coating feels really thick.
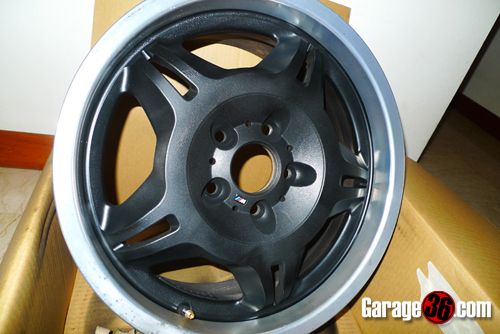
The finishing isn't perfect up close but i think from a distance, still pass-able. At least no more scuff marks. Not perfect, but decent enough and as satisfying as any DIY could be.
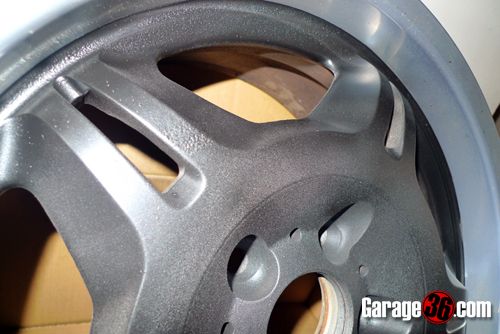
Would i do it on my wheels i am running on my car?
Probably not, a few reasons.
- The wheels on my car are still in pretty good shape.
- It would take more DIP than i have, i reckon 1 wheel takes about 1/3 to 1/2 a can to coat nicely.
- The amount of time needed to mask every wheel (while sitting in the carpark) will KO me.
- The amount of time needed to properly coat every wheel will KO me.
Is it do-able though for someone who's keen to DIY dip all his wheels?
Yes very much so. But it will probably take 3 cans of plasti-dip and alot of patience.

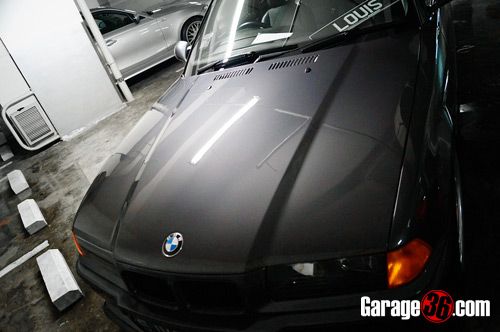
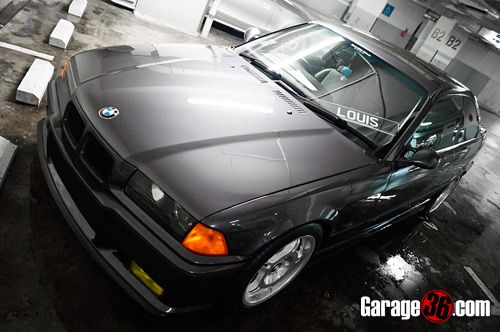 Bonnet
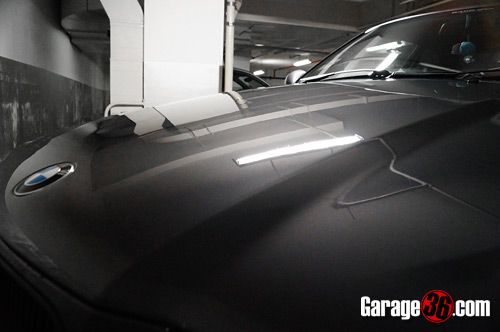
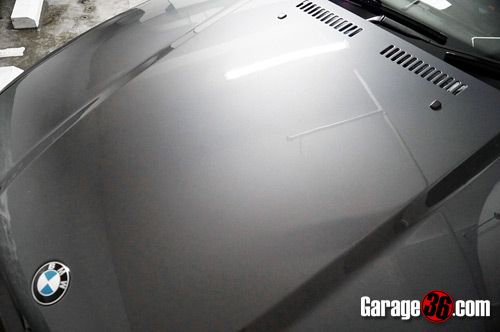 Closeup of bonnet... wavy reflection cos of not so great paint job.... :(
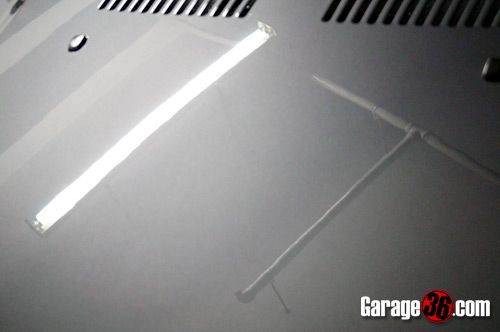 Roof
Roof
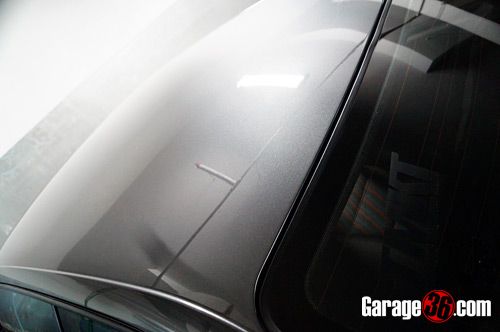 Closer look at the roof
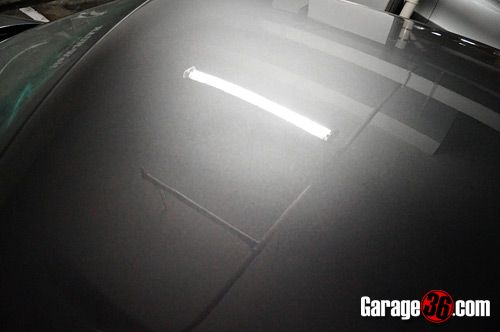 Even closer!
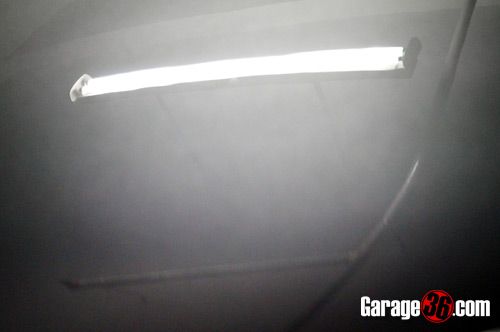 Shine bright like a diamond!
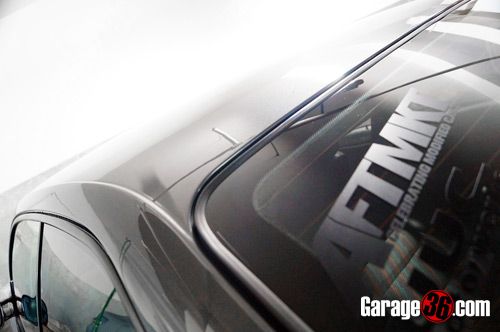

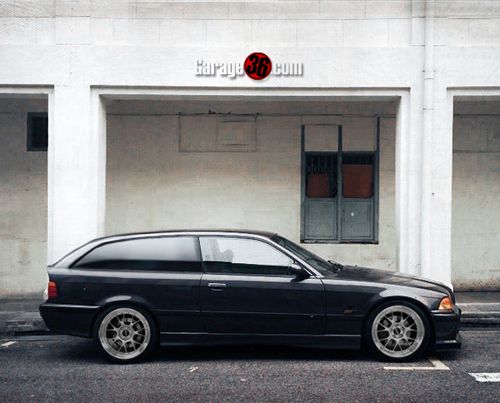
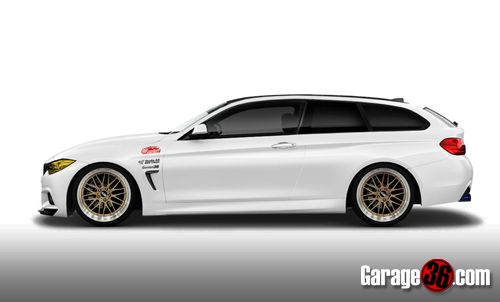

 Continuing the photoshop tweaks on BMW's latest toy, here's the 4 Series with some Studie Racing Hatsune Miku livery!